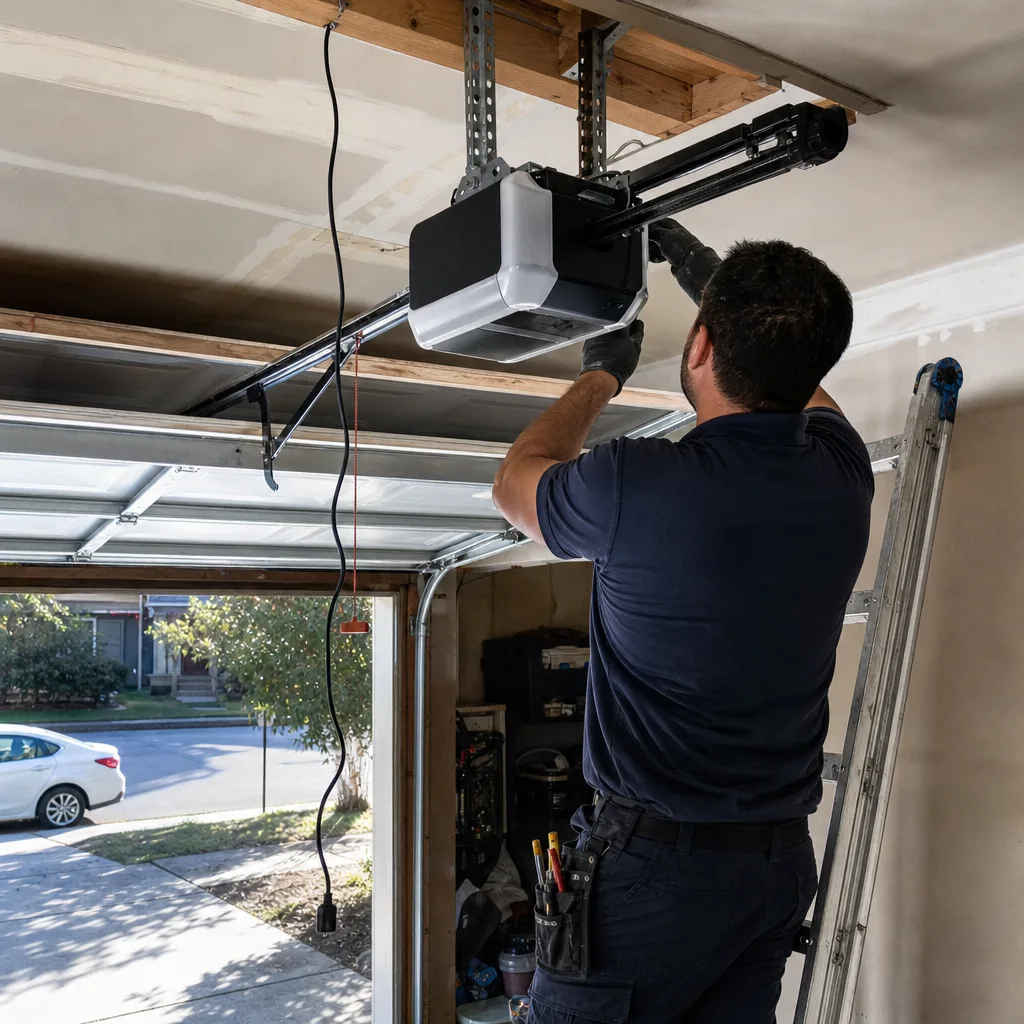
Last updated November 21, 2026
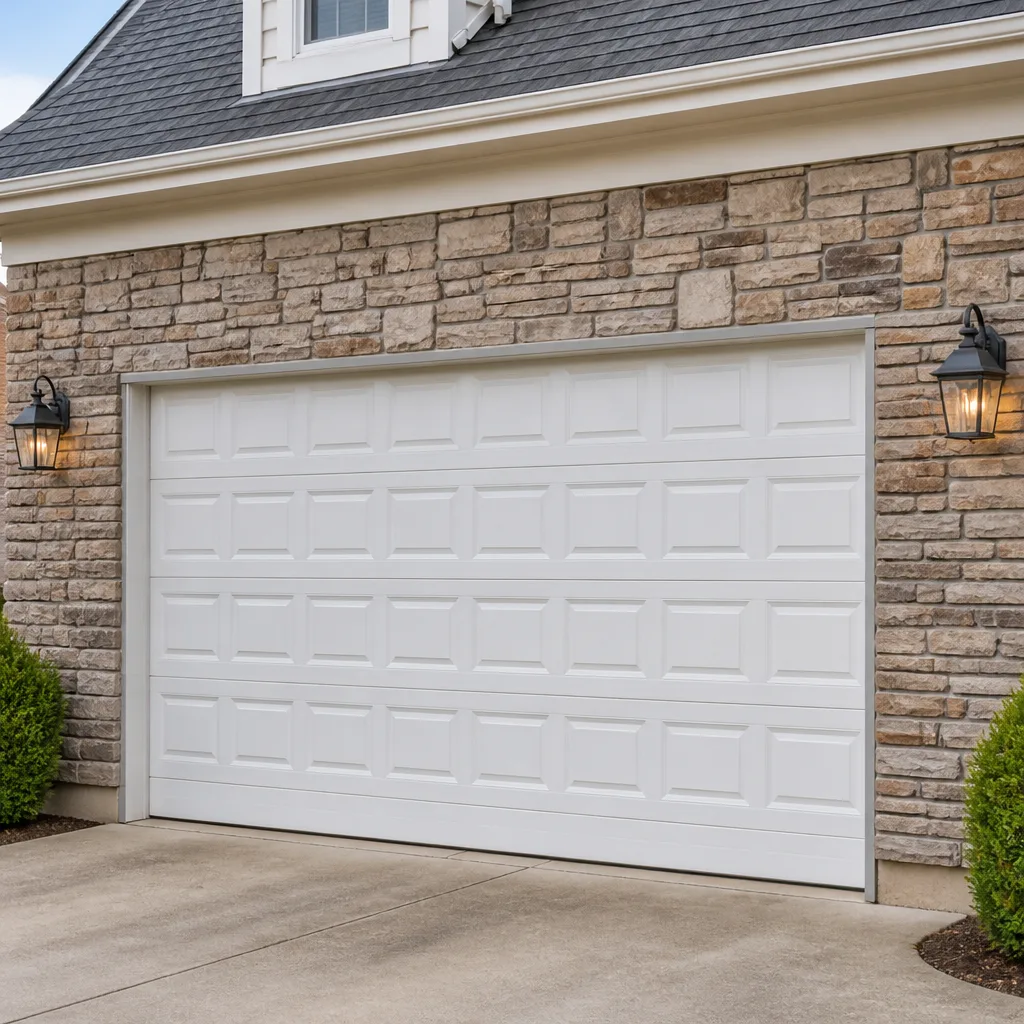 Raised-panel steel
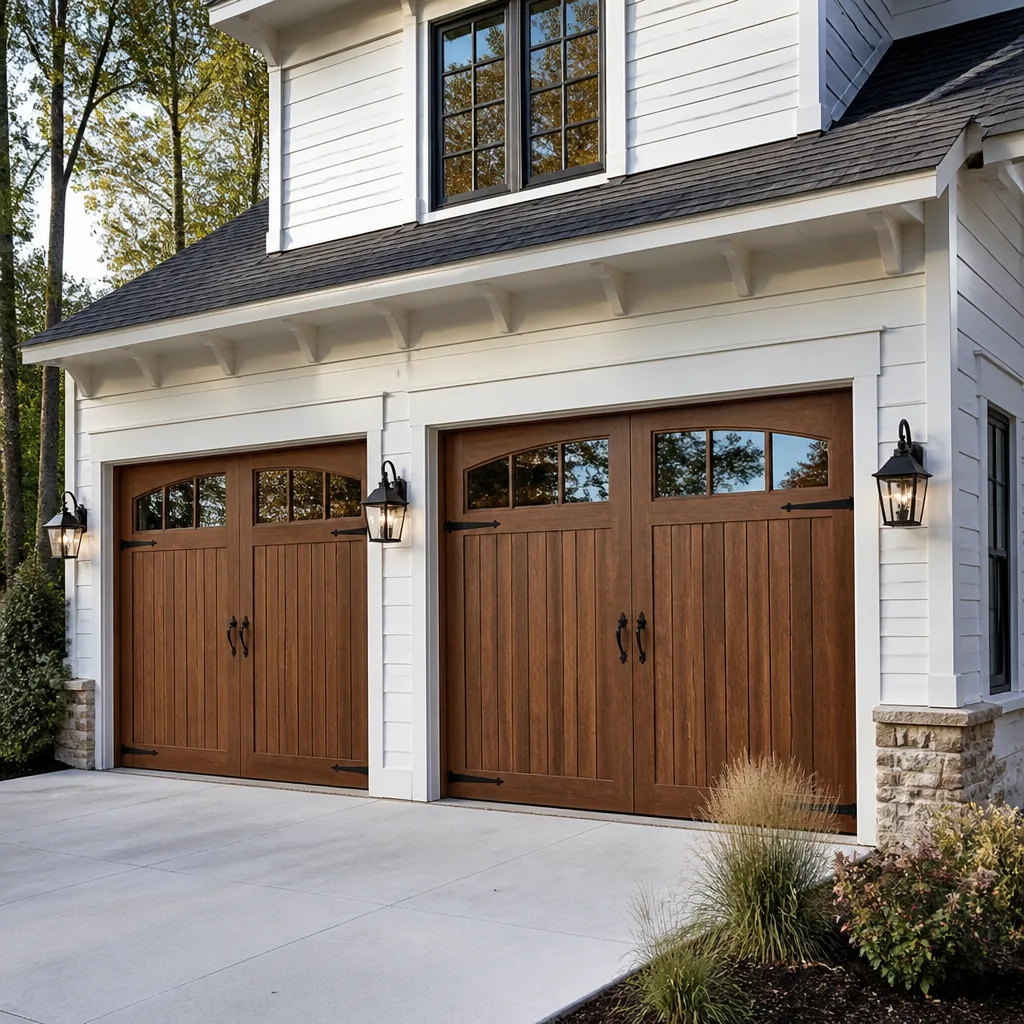 Carriage house
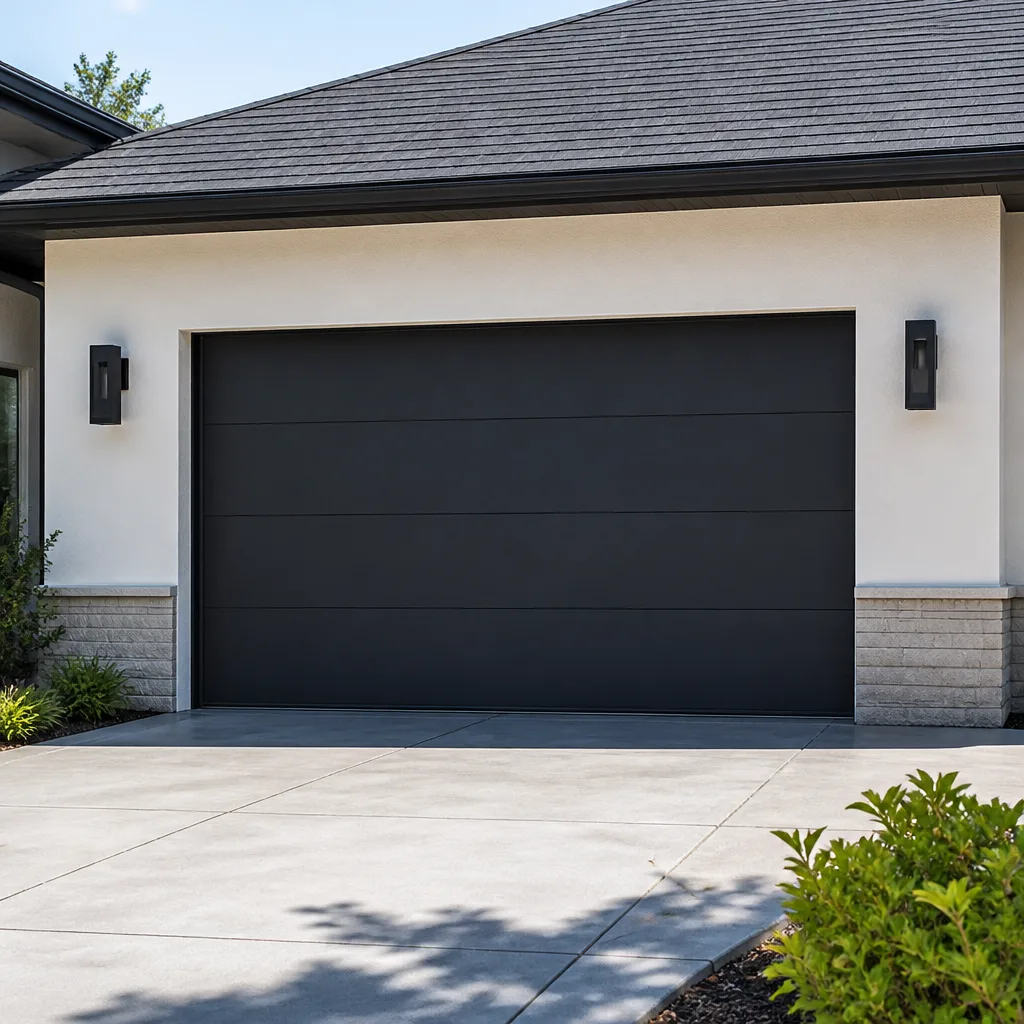 Modern flush
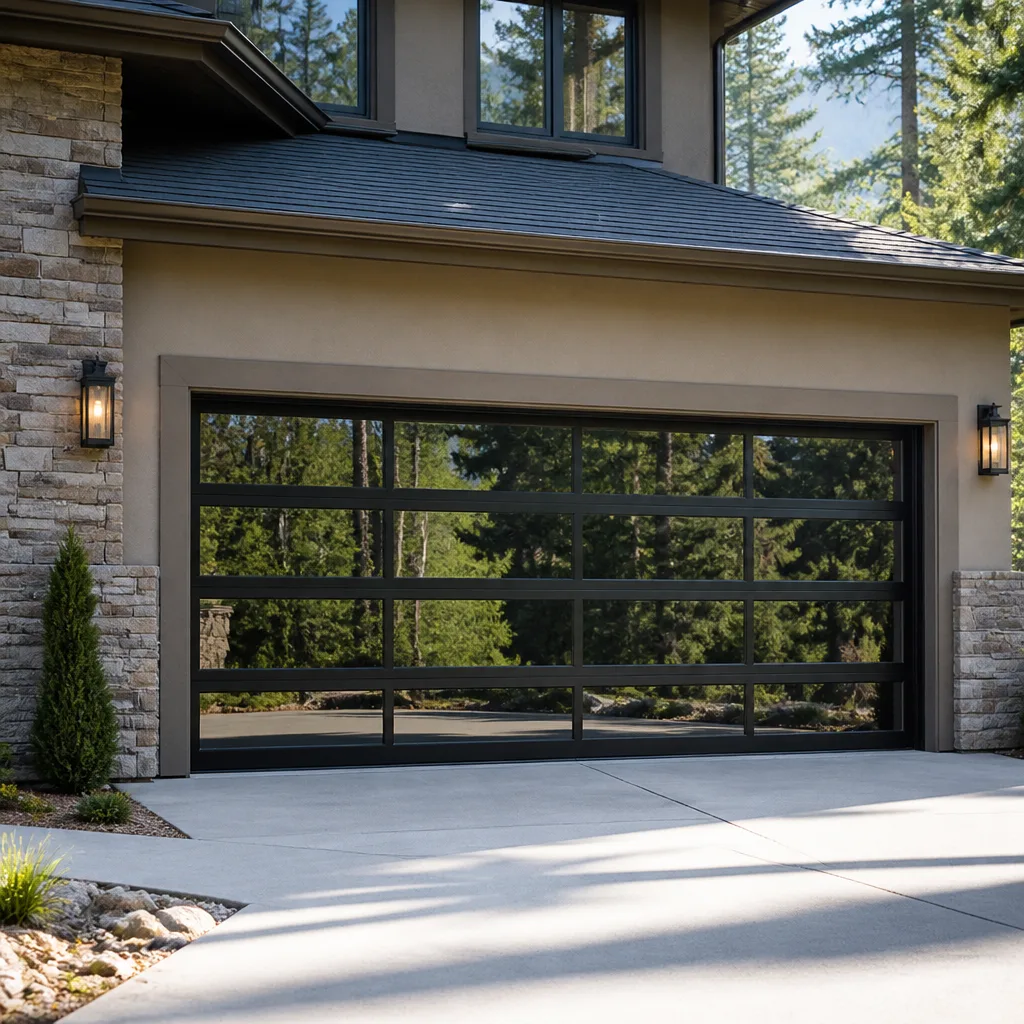 Full-view glass
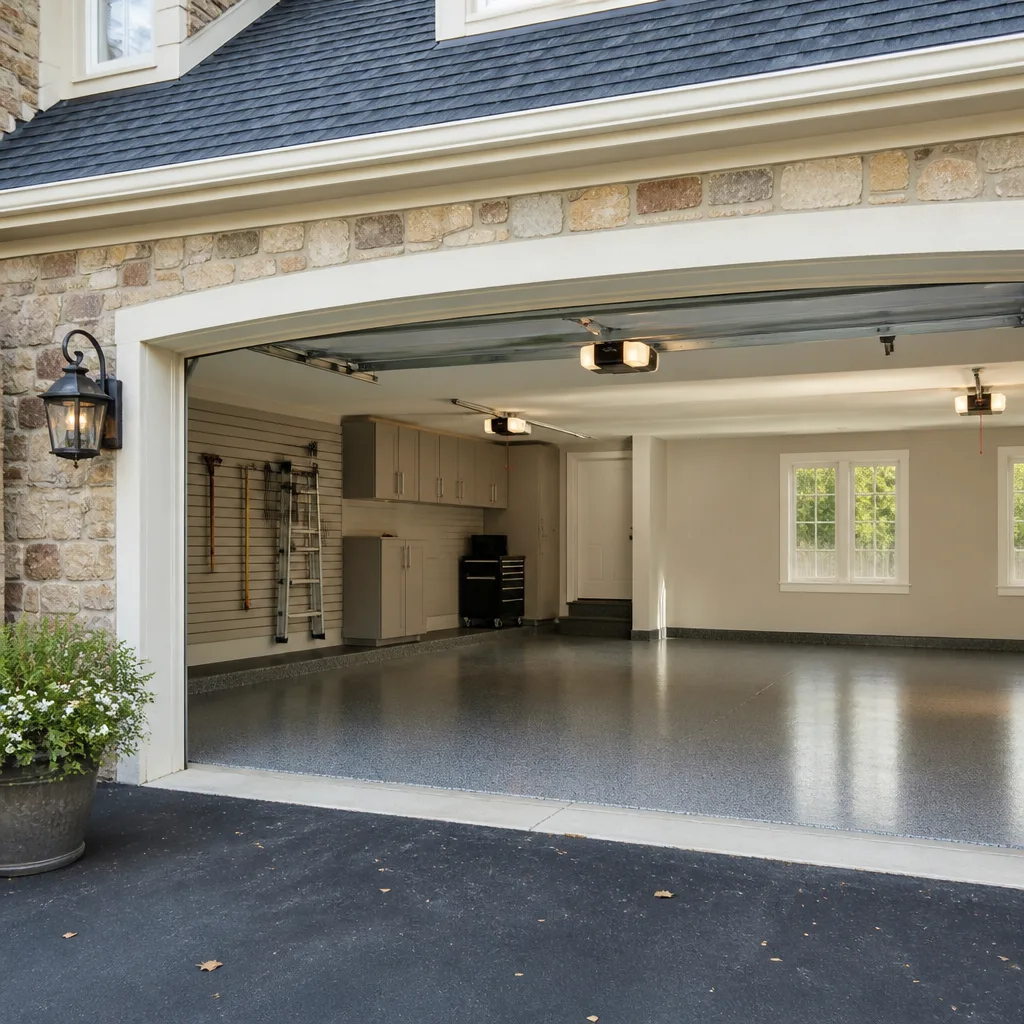 LiftMaster openers
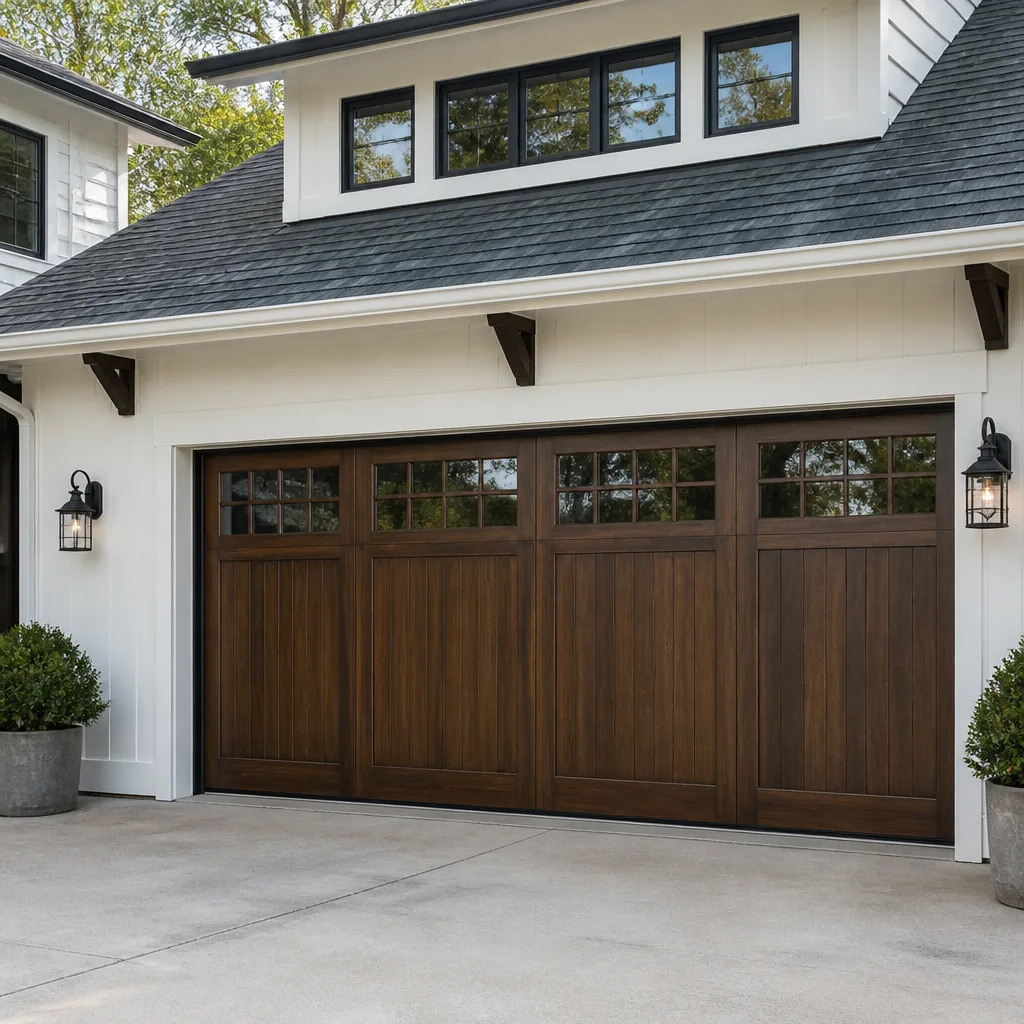 Chamberlain openers
Full 25-point door and opener safety check with every visit - springs, cables, rollers, tracks, and your LiftMaster or Chamberlain opener included
You get a price before we start. It does not change when the pro arrives.
Get your free estimateGarage Door Repair Maintenance Checklist for Germantown Homeowners
Most garage door checklists give you the same seven tasks in the same order, and none of them tell you which one actually matters first. Here’s the counterintuitive part: the check that prevents the most expensive repair on your door isn’t the one most guides put on top. Torsion spring failure is the single most common reason people in Germantown call for emergency service, and it runs on a predictable countdown rather than a surprise. Standard springs are rated for 10,000 cycles, and a household averaging four open-and-close cycles a day hits that mark in under seven years. This guide sequences your maintenance by failure frequency and by how Germantown’s climate and housing stock wear on each component, so you spend your Saturday morning on the checks that head off the calls you’re most likely to make.
Quick Answer
A garage door maintenance checklist for Germantown should be ordered by what fails first here: springs, then cables and rollers, then weather seals before the first hard freeze, then opener and safety-reverse testing, then the balance and track check. Most items are visual inspections you can do in a few minutes. Spring replacement, cable work, and any adjustment involving torsion hardware belong to a trained technician because of the tension stored in those parts.
Styles & brands we work with
- Raised-panel steel
- Carriage house
- Modern flush
- Full-view glass
- LiftMaster openers
- Chamberlain openers
Table of Contents
- Start With the Cycle Count: How Much Spring Life Is Left?
- The Three Lubrication Points Most Homeowners Skip
- Cable Inspection: Where Fraying Hides on Germantown Track Setups
- Weather Seals: Time the Check to Late September
- The Balance Test and Safety-Reverse Test
- Opener Checks by Brand: Genie, LiftMaster, and What to Listen For
- Tracks, Hinges, and Rollers: The Wear Items You Can See
- The Go/No-Go Decision for Every Checklist Item
Start With the Cycle Count: How Much Spring Life Is Left?
Before you touch anything else, work out roughly how much life your springs have left. A cycle is one open plus one close. Standard torsion springs carry a 10,000-cycle rating, which sounds like a lot until you divide it by your household’s daily habit. Four cycles a day gets you to the rating in under seven years. Six cycles a day, common in households where two drivers come and go separately, shortens that to about four and a half years. That math is the whole reason spring failure tops the emergency-call list in Germantown.
You don’t need to know your spring’s exact wire gauge to estimate. Door age plus household usage gets you close enough to plan. If your door is in year six or seven of steady use, treat the springs as near the end of their rated life even if they still work fine.
- Count your cycles: number of drivers leaving and returning, plus any errands, deliveries, or lawn equipment trips.
- Check the door’s install era: a door installed with the home in a newer Germantown subdivision has likely been cycling since then.
- Look for the visual tell: a gap of about an inch or more in a torsion spring coil is a sign of wear, and it means the spring is closer to breaking than it looks.
- Plan a matched pair: springs are usually replaced as a pair, since two springs of the same age fail close together.
What we see in the field is that springs almost never fail at a convenient time. They tend to go when the door is down, which leaves a car trapped or the house open. Knowing your approximate cycle count lets you replace springs on your schedule, not the door’s. If your count puts you past the rating, that’s the moment for garage door spring repair before a break forces the issue.
One safety note here, and it matters: springs and the cables attached to them are under extreme tension. A torsion spring can cause serious injury if it releases while you’re working near it. This is not a component to adjust, wind, or replace yourself. A trained technician has the tools and the winding procedure to handle it safely, and that’s the single most important go/no-go line in this whole checklist.
The Three Lubrication Points Most Homeowners Skip
Most people oil the same hinge they can reach from the driveway and call it done. The three points that actually get skipped are the ones that wear quietly: bottom roller stems, torsion bar bearings, and the lock mechanism.
Here’s how a proper lubrication pass goes, using a white lithium grease or a garage-door-specific spray lubricant, not WD-40. WD-40 is a solvent and water displacer, not a lasting lubricant. It thins out fast and can attract grit that grinds into moving parts. Skip it for this job.
- Bottom roller stems. The lowest roller on each side carries the most load at the curve. Press a little grease into the stem bearing where it pivots.
- Torsion bar bearings. These sit at each end of the torsion bar and at the center plate. A few drops of lubricant quiet a door that squeals when it starts to move.
- Lock mechanism. On manual-lock doors, work a small amount of lubricant into the lock cylinder and the slide, not the keyway opening, so you don’t jam the pins.
Wipe off excess. Grease that spreads onto the track or the rollers can collect dust and slow the door. A thin, clean film is what you want. When the garage sits cold through winter, old grease stiffens, which is why a lubrication pass before the season turns makes the biggest difference. If your door has been dry and noisy for a couple of years, the fix is usually simple, but don’t force it. Binding parts under load can bend. If the door still fights you after a proper lube of those three points, the cause is mechanical and worth a look, which is where a diagnostic visit for garage door repair saves you from chasing the wrong part.
Cable Inspection: Where Fraying Hides on Germantown Track Setups
Cables carry the door’s total weight and wrap around a drum at the top of each side. They fail from the inside out, which is the reason a snap usually comes without warning. Learning where to look is worth ten minutes a couple of times a year.
The fraying you can catch early happens in three spots: where the cable winds onto the drum, where it bends around the bottom bracket, and where it runs behind the vertical track on the side that’s hardest to see from the garage floor. That last spot is the one people miss. On standard residential track setups, the cable is tucked behind the track and under the door frame, so it’s invisible looking straight on. Get low and look up the side.
What to look for:
- Broken strands sticking out like a frayed rope end.
- A kink or flat spot where the cable should be smooth.
- Rust that runs along the length rather than a spot at one end.
- A cable that’s come off its drum, even slightly.
Any of those means the cable’s days are numbered, and a snapped cable can whip and cause injury. A cable under tension is not something to test by hand. If you see fraying, leave it alone and book an inspection. Cables and springs work as a system, so a cable problem often means the spring assembly needs a look at the same time, and one visit handles both.
Weather Seals: Time the Check to Late September
Weather seals matter more here than in mild climates, and the right time to look is late September, before Maryland’s first hard freeze. A seal that’s already brittle or split going into winter lets cold air and moisture in along the door line, and freezing pulls it further apart. Catching the wear before the first freeze saves you an awkward January replacement.
Different seal materials fail in different patterns:
- Vinyl bottom seals tend to harden and crack in short, dry lines along the contact edge. Once they’re stiff, they stop hugging the floor and let drafts through.
- Rubber seals hold flexibility longer but split from the ends inward, so check the corners first. A rubber seal that’s started to tear at the edge will keep tearing.
- Perimeter and jamb seals on the sides and top compress over time. Run a fingertip along the edge; if you feel a firm gap or the seal pulls away from the frame, it’s due for replacement.
To test the bottom seal, close the door on a sheet of paper and try to pull the paper free. If it slides out easily at more than a couple of spots, the seal isn’t sealing. Slide the paper along the full width to map where it’s loose.
Seals are one of the few items on this list most homeowners can replace on their own, provided the track is clear and the door is set at a safe height. If you’d rather not climb under a lowered door, this is an easy item to hand to a technician during any other visit. Do it before the freeze and you head off the draft. Skip it and you’ll feel it every cold morning.
The Balance Test and Safety-Reverse Test
The balance test tells you whether the springs are still doing their job. A balanced door stays where you leave it halfway up. One that drops fast means the springs are tired or the door is out of adjustment, and a strained opener picks up the slack until it fails too.
Do the balance test carefully, using the manual release only, never while the opener is running:
- Pull the opener’s release so the door runs by hand.
- Lift the door to about halfway and hold it steady.
- Let go slowly. If it drifts down more than a foot or so, the balance is off.
- Move the door a couple of feet from closed and repeat. It should feel light in both directions.
The safety-reverse test is your second critical check. On a door with an opener, place a solid object like a short length of 2×4 flat on the floor in the door’s path, then close the door with the opener. The door should reverse when it contacts the object. If it presses down and keeps going, stop using the opener until it’s fixed. That failure mode is the one that deserves immediate attention, not a note for later.
There’s also the photo-eye test. Break the beam between the two sensors at the bottom of the track with your foot or a box. The door should refuse to close. If it closes anyway, the eyes or their wiring need attention. Both tests are quick, and both are the ones to repeat if anyone in the household starts reporting that the door “acts funny.” An out-of-balance door, combined with a failing opener, is the setup for garage door opener repair down the line, so fixing balance first protects the opener.
Opener Checks by Brand: Genie, LiftMaster, and What to Listen For
An opener talks to you before it fails. Listen to it, and you can catch a lot before it stops. A door that strains, groans, or briefly reverses on its way down is telling you something upstream is binding.
Run through these checks a couple of times a year:
- Listen at startup. A smooth motor hum is normal. A grinding or clicking sound suggests worn gears or a loose chain.
- Check the force adjustment. Most openers have a force setting on the unit. A door that needs more force than before is a sign the springs or rollers are dragging.
- Test the wall control and remotes. Replace remote batteries as part of a fall pass every year. On a Genie or LiftMaster unit, confirm the wall control responds consistently.
- Look at a smart-opener connection. If your opener is connected to a home app, check that the door still reports open and closed correctly. A lagging status often points to a sensor or wiring issue.
Brand-specific quirks are real. A Wayne Dalton chain drive sounds different from a belt-drive LiftMaster, and a Genie screw drive has its own tone. The point isn’t to memorize the differences; it’s to notice when yours sounds different from how it usually does. Our technicians have up to 14 years of experience across Genie, LiftMaster, Chamberlain, Craftsman, Clopay, Amarr, Wayne Dalton, and Raynor equipment, so we diagnose the system already on your door without pushing a replacement. When the door won’t move and the opener is the suspect, we can usually tell you what’s wrong on the first visit.
Tracks, Hinges, and Rollers: The Wear Items You Can See
Even a properly balanced door with healthy springs depends on a clean track and solid hardware. The tracks should be straight and parallel, running smoothly from the opener bracket down to the floor. Put a hand on each track and give it a light push. Flexible movement in a track is normal play; a visible kink, bend, or gap between sections is not.
Hinges and rollers are the visible wear items. Inspect each hinge for a cracked plate or a wallowed screw hole, and each roller for a flat spot or a worn wheel. Rollers usually last a few years and then develop a subtle flat side that makes the door rumble. Replacing rollers is a low-cost improvement that quiets a door and reduces strain on the opener.
While you’re at it, tighten any hinge and bracket screws that have worked loose. A loosened screw is simple to catch and simple to fix now. Ignored, it can let a hinge pull out and put a panel out of line.
Clean the tracks without grease. Dust and grit are what cause most track drag, and a rag or a stiff brush is the right tool. Don’t spray lubricant on the track itself; it collects dust and makes the problem worse. A clean track and properly seated rollers do more for a quiet door than any product you can buy.
The Go/No-Go Decision for Every Checklist Item
The value of a checklist is decided by whether you can actually do the work safely. Some items are genuinely homeowner tasks. Others involve parts holding real force, and those belong to a technician. Here’s the line for each.
- Lubricate roller stems, torsion bearings, and lock: homeowner task. Use white lithium or a garage-door spray, not WD-40.
- Test balance, safety-reverse, and photo eyes: homeowner task. If a test fails, stop using the opener.
- Inspect cables for fraying: homeowner task to look, technician to repair. Never handle a cable under tension.
- Replace weather seals: homeowner task if the track is clear and the door is set safely. Otherwise let a technician handle it.
- Tighten visible hinge and bracket screws: homeowner task.
- Adjust or replace springs: technician only. Torsion springs are under extreme tension and can cause serious injury.
- Replace or repair cables: technician only.
- Straighten a bent track or replace rollers: usually a technician task, since the door weight rests on the track system.
If a go/no-go call is close, treat it as a no. The cost of a diagnostic visit is modest compared with a door coming down on a car or a spring letting go while you’re near it. For anything spring- or cable-related, that rule holds without exception, and it protects the whole household. When a repair is somewhere you’d rather not reach, Germantown Garage Door Repair Pros can take it from there.
Common Mistakes to Avoid
- Lubricating the tracks. Grease on the track collects dust and grit that slows the door. Tracks want a clean rag, not a can of spray.
- Reaching for WD-40 on the rollers. It thins and evaporates, and it can pull grit into the moving parts. Use a product meant to stay put.
- Trying to wind, adjust, or replace a torsion spring. Those springs are under extreme tension, and even a careful homeowner can be badly hurt. Springs are technician work, full stop.
- Ignoring a door that reverses on its own. A brief reversal during a close often means a sensor or balance problem. It only gets worse, and it can run the door down on an object or a person.
- Skipping the late September seal check. Waiting until the first hard freeze turns a quick seal swap into a cold, rushed job in the middle of winter.
- Replacing an opener when the door is the problem. A strained opener is often a symptom of worn springs or rollers, not the cause. Fix the door and the opener may last years longer.
- Testing the balance with the opener engaged. Always use the manual release and hold the door steady. A surprise drop can catch a hand or foot.
See the difference
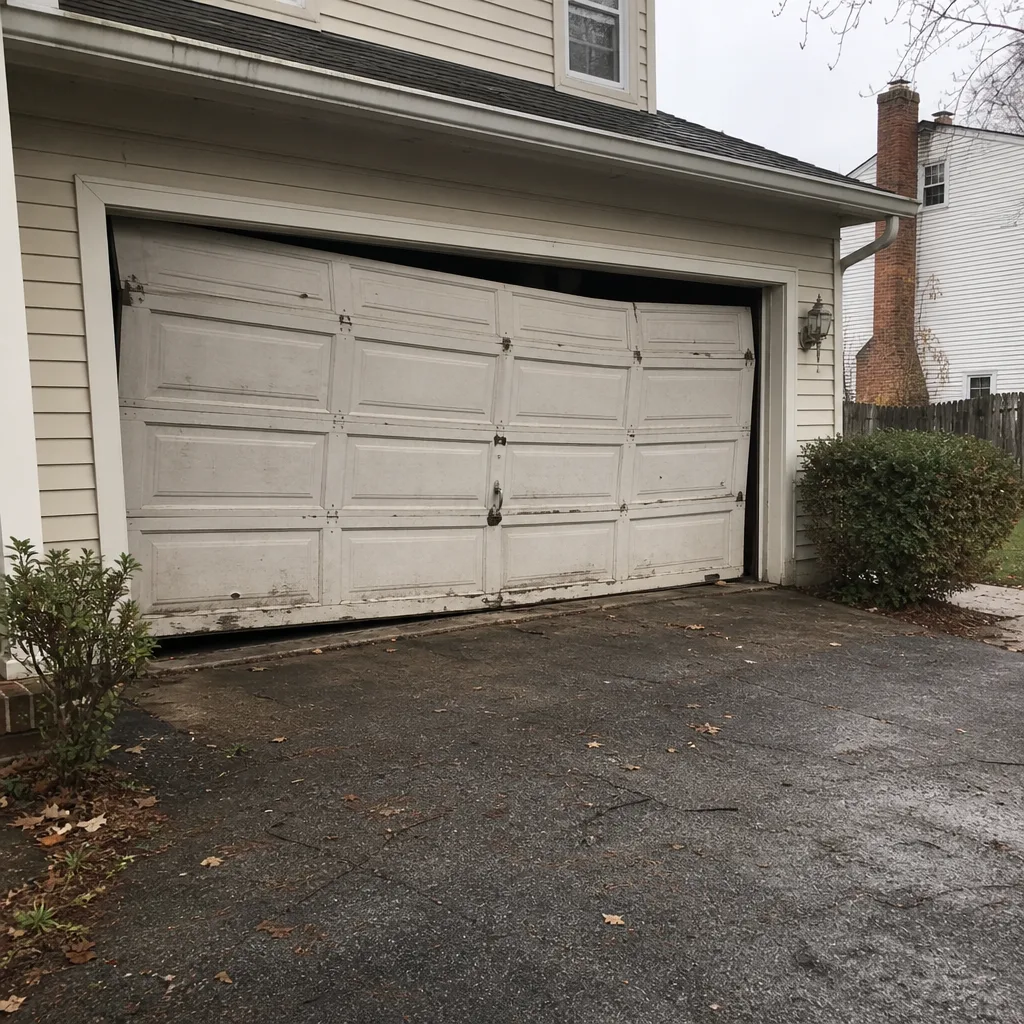 Before
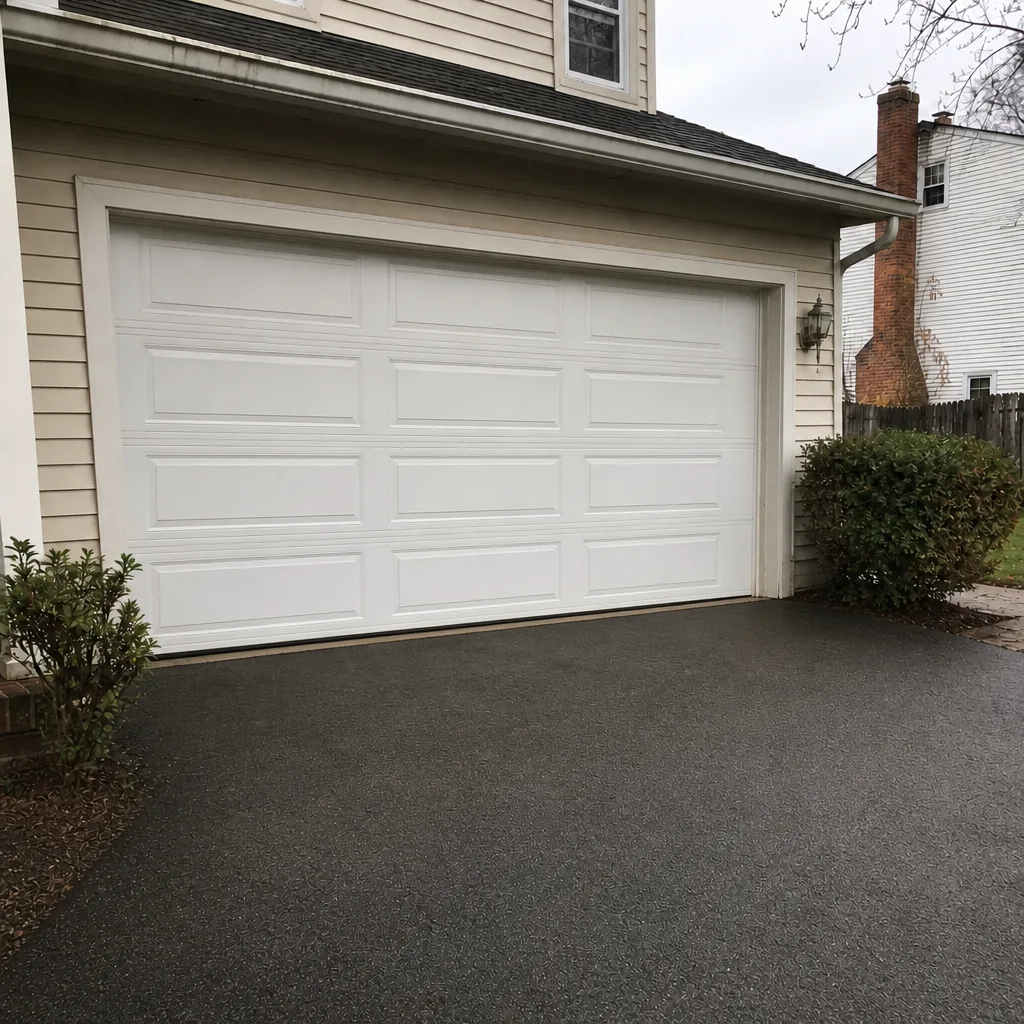 After
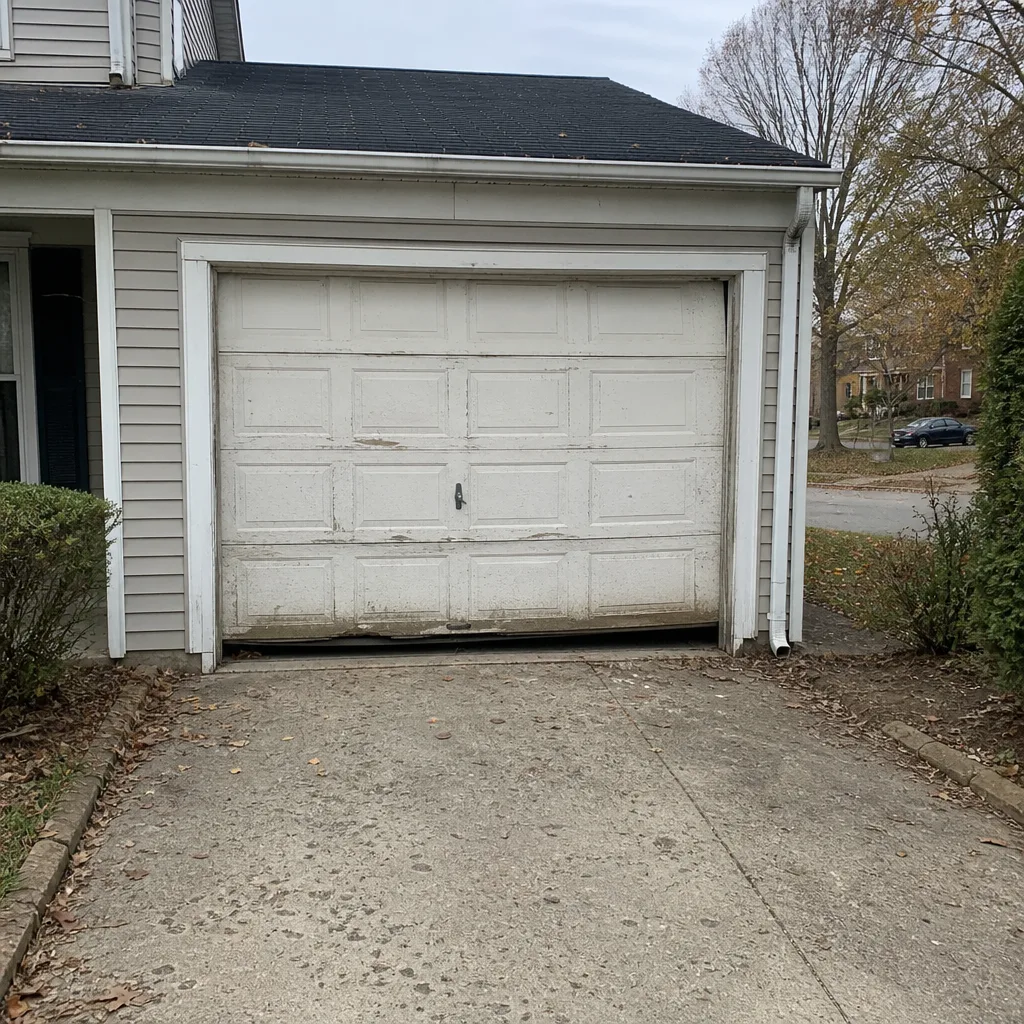 Before
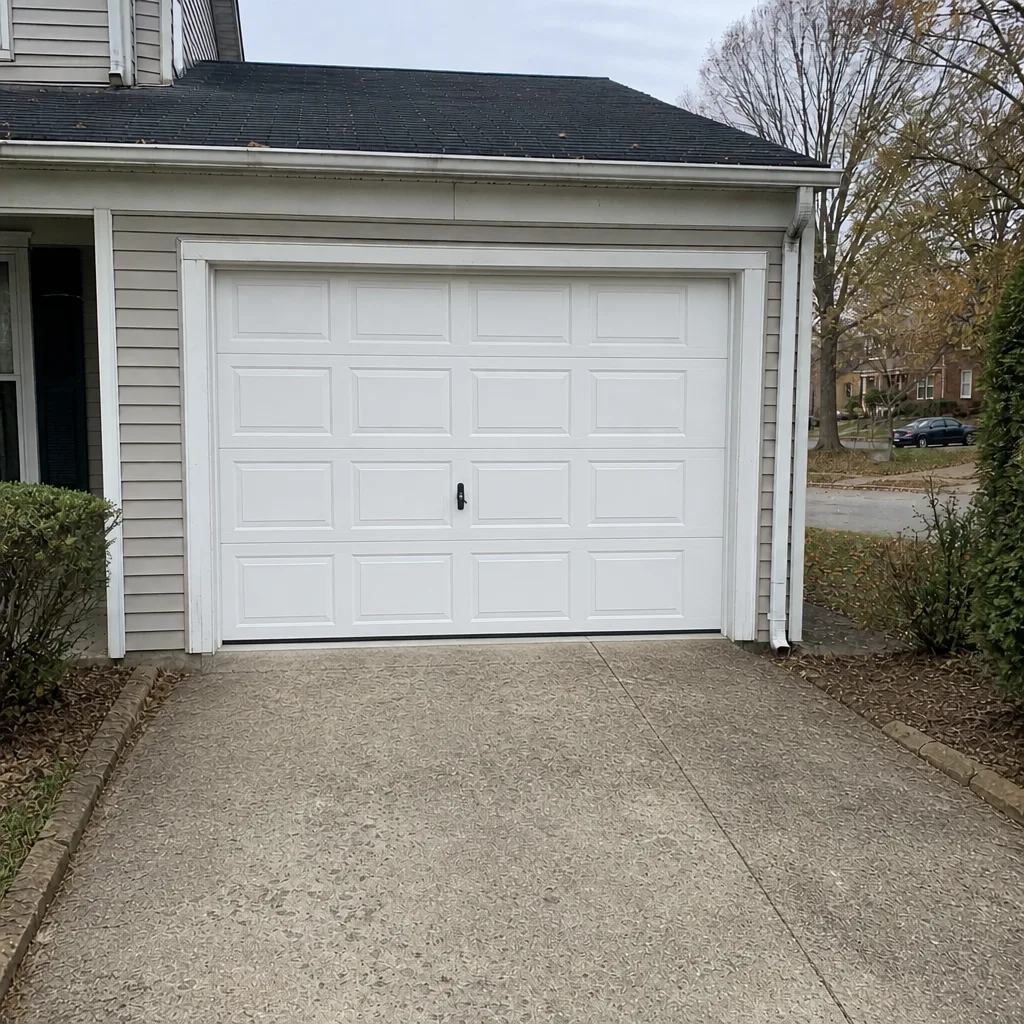 After
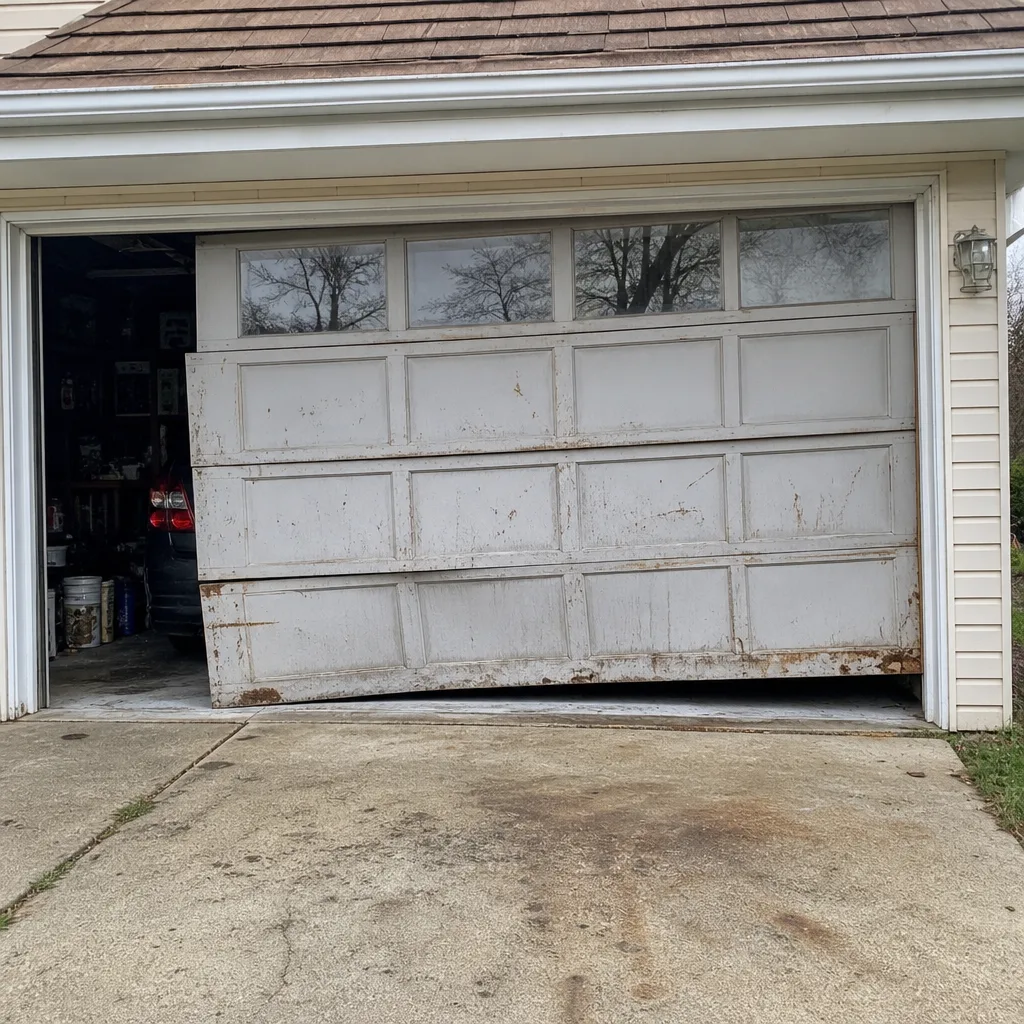 Before
 After
When to Call a Professional
Call a technician when the problem is anything involving springs, cables, or a door that’s out of balance or off track. Those are high-force parts, and the risk of injury outweighs any savings from doing it yourself. Call when the safety-reverse or photo-eye test fails and the door is still trying to close. Call when a cable shows a broken strand or a kink. And call if your cycle count puts your springs past their rating, even if the door still works. Germantown Garage Door Repair Pros offers free estimates in Germantown. Call (844) 575-0084, and we’ll talk you through what’s going on before anyone touches the door.
Frequently Asked Questions
Do a full visual pass twice a year and a lubrication pass twice a year, timed to spring and late September. The late-September pass matters most here because it lines up with the weather-seal check before the first hard freeze. Quick safety tests, like balance and reverse, are worth repeating any month. If your door is in its sixth or seventh year of steady use, add a spring-life check to every pass.
Estimate by door age and household cycles. Standard springs are rated for 10,000 cycles, and at four cycles a day that’s under seven years. Look for a gap of an inch or more in a torsion spring coil. If you’re near the rating, plan to replace the pair before one breaks. Call (844) 575-0084 for an exact quote, since estimates are free.
No, don’t. Springs are under extreme tension and a release can cause serious injury. That’s the one item on this checklist that always belongs to a trained technician with the right winding tools. We handle spring work as a dedicated service, which means we take the risk and the procedure seriously.
Use a white lithium grease or a garage-door-specific spray lubricant, never WD-40. Focus on the bottom roller stems, torsion bar bearings, and the lock mechanism. Wipe off the excess and leave the tracks dry. Grease on the track collects grit and makes the door drag.
We don’t quote a single figure here because cost depends on your spring size and whether one or a pair is replaced. Springs are usually replaced as a matched pair, and the pair costs about twice a single spring. The written quote you get after an inspection sets the price. Call (844) 575-0084 for a free estimate.
Yes. Emergency garage door service is one of our core offerings, for the situations where a door traps a car or leaves the house unsecured. Call (844) 575-0084 and we’ll help with the next step. Keep the door down if it’s a spring or cable failure, and keep hands and feet clear of the door.
The Bottom Line
Prioritize the checklist by what fails first in Germantown. Springs top the list, and the cycle count is your head start on that failure. Then check cables where fraying hides behind the track, get your weather seals done before the late-September freeze, and run the balance and reverse tests every couple of times a year. Lubricate the three points most people skip, with the right product. Know where your go/no-go line sits: lubricating and looking are yours; springs and cables are a technician’s. Do the homeowner tasks and your door’s in better shape than most on the block.
Germantown Garage Door Repair Pros covers repair, opener repair, spring repair, and new installation for the whole door system. Call (844) 575-0084 for a free estimate on any checklist item you’d rather hand off.
Written by the team at Germantown Garage Door Repair Pros.